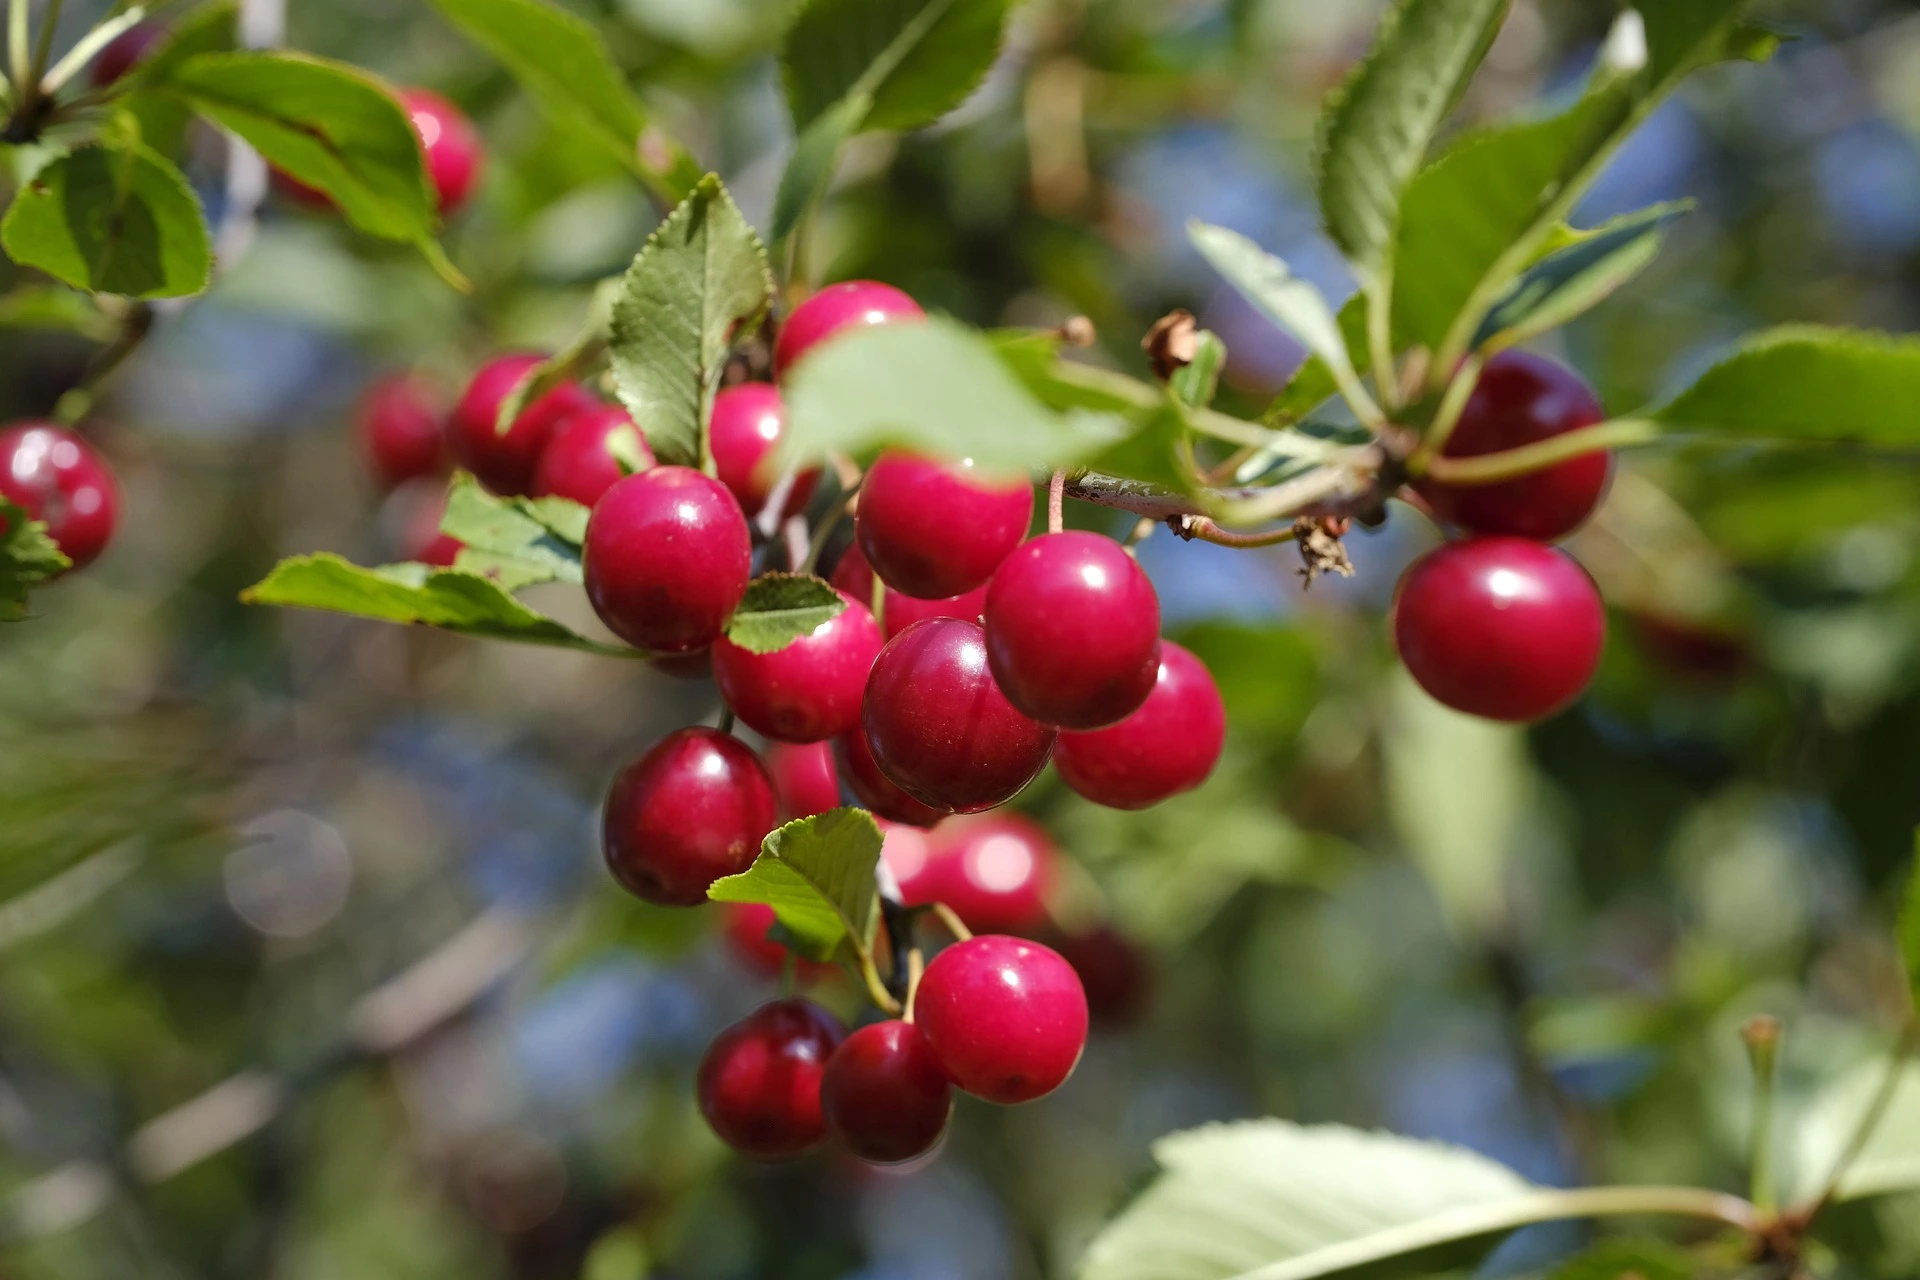
From Seed to Harvest: How to Plant a Cherry Pit and Grow a Real Fruit Tree from Scratch
That small, hard seed holds everything needed to grow a full cherry tree right in your backyard — or even on your balcony. People do it every year, mostly because they’re curious. But then they discover something: it actually works.
Knowing How to Plant a Cherry Pit Tree At Home is one of those gardening skills that feels almost magical. You start with something you’d normally throw away, and three to five years later, you’re picking your own cherries.
Is it quick? No. Is it hard? Not really — if you know the right steps.
This guide breaks everything down, from picking the right pit to the moment your tree finally flowers. No fluff, just what actually works.
What’s Really Inside a Cherry Pit?
A cherry pit isn’t just a hard shell. Inside it is a seed — a fully viable embryo waiting for the right conditions to wake up.
The outer shell (called the endocarp) is extremely tough. Its job in nature is to protect the seed until it passes through an animal’s digestive system or survives a cold winter underground. That’s why you can’t just drop a cherry pit in a pot and expect it to sprout in two weeks. It needs a biological trigger first.
That trigger is cold.
In the wild, cherry seeds fall from the tree in summer, sit in the soil through autumn, freeze through winter, and then — when spring warmth arrives — they crack open and germinate. You’re going to replicate that exact process at home, just using your refrigerator instead of a snowstorm.
Once you understand this logic, the whole process makes perfect sense.
Which Cherries Work Best for Growing at Home?
Not every cherry pit will grow into a productive tree, and this is where most beginners go wrong from the start.
Sweet Cherries vs. Sour Cherries
Sweet cherries (Prunus avium) like Bing, Rainier, or Black Tartarian produce beautiful fruit. However, they grow very large — sometimes 30 to 40 feet tall without regular pruning. They also need cross-pollination from another nearby cherry tree to bear fruit.
Sour cherries (Prunus cerasus) like Montmorency or Morello are better choices for most home growers. Here’s why:
- They’re naturally self-pollinating, meaning one tree can produce fruit on its own
- They stay shorter and more manageable
- They’re more cold-hardy, surviving harsher winters
- The fruit is excellent for pies, jams, and preserves
The Grocery Store Cherry Problem
Here’s something important: most cherries sold in supermarkets come from hybrid varieties. Seeds from hybrid fruit can be sterile or may produce a tree that looks nothing like the parent. Results are unpredictable.
For better odds, source your cherries from:
- A local farmers’ market
- A roadside orchard
- A neighbor’s backyard tree
- A specialty nursery that sells fresh, true-variety cherries
The closer to wild or heirloom varieties your starting cherry is, the better your results when you try how to plant a cherry pit to grow a fruit-bearing tree at home.
Step-by-Step: How to Plant a Cherry Pit at Home
This is the core of everything. Follow these steps in order and don’t rush any of them.
Step 1 — Extract and Clean the Pit
Eat your cherries. Collect the pits.
Rinse each pit thoroughly under running water. Remove every trace of fruit flesh from the surface. Leftover pulp will rot in storage and can cause mold that kills the seed inside.
Let the pits air-dry on a paper towel for 3 to 5 days at room temperature. Don’t put them in direct sunlight.
Step 2 — Cold Stratification (The Most Important Step)
This is the step most people skip, and it’s why their cherry pits never sprout.
Cold stratification mimics winter. It tells the seed that it’s safe to grow.
Here’s exactly how to do it:
- Grab a small zip-lock bag or a clean glass jar with a lid.
- Fill it with slightly damp (not soaking wet) sand, peat moss, or a 50/50 mix of both.
- Place your cleaned, dry cherry pits inside and mix them into the medium.
- Seal the bag or jar and place it in the back of your refrigerator.
- Set a reminder and leave it there for 10 to 12 weeks (roughly 2.5 to 3 months).
- Check on the bag every two weeks to make sure the medium stays slightly moist. If it’s drying out, add a few drops of water.
The ideal refrigerator temperature for stratification is between 34°F and 41°F (1°C to 5°C). Most household refrigerators fall right in this range.
By week 10, you may start to see a small white root (the radicle) emerging from some pits. That’s your green light to plant.
Step 3 — Prepare Your Pots and Soil
While your pits are stratifying, get your supplies ready.
What you’ll need:
- Small pots (4-inch size is perfect for starting)
- Well-draining potting mix — avoid heavy garden soil
- Perlite or coarse sand (mix 30% into your potting soil to improve drainage)
- A spray bottle for watering gently
Cherry seedlings hate standing water around their roots. Good drainage is non-negotiable.
Step 4 — Plant the Pit
Once stratification is complete and you see root emergence (or after 12 weeks even if you see nothing yet), it’s time to plant.
- Fill your small pots with the prepared soil mix.
- Use your finger to poke a hole about 1 inch deep in the center.
- Place one pit per pot, root-side down if you can see a sprout.
- Cover with soil and press gently to eliminate air pockets.
- Water lightly until moisture seeps through the bottom drainage holes.
- Place pots in a warm, bright spot — a south-facing windowsill is ideal.
- Keep soil consistently moist but never soggy.
Germination after planting typically takes 2 to 6 weeks depending on temperature and variety. Be patient.
Caring for Your Cherry Seedling Indoors
Once a tiny green shoot appears above the soil, the real journey begins.
Light Requirements
Cherry seedlings are light-hungry. They need 6 to 8 hours of direct or bright indirect sunlight daily. A south or west-facing window is your best friend. If your home doesn’t get enough natural light, a simple grow light on a timer works well.
Weak, leggy seedlings with pale stems are almost always a sign of insufficient light — not lack of water.
Watering Routine
Water when the top inch of soil feels dry to the touch. Stick your finger in. If it’s moist, wait. If it’s dry, water thoroughly.
Overwatering kills more cherry seedlings than any disease or pest. Cherry roots are very sensitive to rot.
First Fertilizing
Wait until your seedling has at least 3 to 4 true leaves before introducing any fertilizer. Then use a balanced, diluted liquid fertilizer (such as a 10-10-10 NPK) once every four weeks during spring and summer. Stop fertilizing in late autumn and through winter.
Transplanting Your Seedling Outdoors
Knowing how to plant a cherry pit to grow a fruit-bearing tree at home is only the beginning — at some point, the seedling needs outdoor soil to truly thrive.
When Is the Right Time to Move It?
Move your seedling outdoors when:
- It’s at least 8 to 12 inches tall with several sets of leaves
- All frost risk in your area has passed (usually after your last spring frost date)
- The tree has been “hardened off” — meaning gradually introduced to outdoor conditions over 1 to 2 weeks
Hardening off means placing your pot outside in a shaded, sheltered spot for an hour or two the first day, then slowly increasing outdoor time over two weeks before the final transplant.
Choosing the Right Spot in Your Yard
How to Plant a Cherry Pit Tree At Home need:
- Full sun — at least 6 to 8 hours daily
- Well-draining soil — avoid low areas where water pools after rain
- Space — even dwarf varieties need 8 to 10 feet of clear space; standard trees need 20 to 30 feet
- No overhead wires, walls, or large competing tree roots nearby
Dig a hole twice as wide and just as deep as your seedling’s root ball. Loosen the surrounding soil. Plant at the same depth the seedling was growing in the pot. Water deeply immediately after planting.
Common Mistakes to Avoid When Growing Cherry from Pit
Even experienced gardeners make these errors. Knowing them now saves you months of frustration.
1. Skipping stratification entirely. Without cold stratification, the vast majority of cherry pits will never germinate. This is the single biggest mistake beginners make.
2. Using wet, soggy soil during stratification. The medium should be damp like a wrung-out sponge, not dripping. Too much moisture causes mold that kills the seed.
3. Planting too deep. A cherry pit buried more than 1.5 inches deep may struggle to push through. One inch is the sweet spot.
4. Giving up too early. Cherry pits can take the full 6 weeks after planting to show any sign of life. Many beginners toss pots after two weeks thinking nothing will happen. Wait the full timeline.
5. Overwatering seedlings indoors. More cherry seedlings die from root rot than from any other single cause. Let the top inch of soil dry before watering again.
6. Planting a hybrid grocery-store cherry and expecting identical fruit. Grow heirloom or local varieties when possible. Hybrid pits produce unpredictable offspring.
7. Not hardening off before outdoor transplanting. Moving a seedling directly from a warm, stable indoor environment to fluctuating outdoor conditions is a shock the plant often can’t handle.
When Will Your Cherry Tree Actually Bear Fruit?
This is the question everyone asks, and the honest answer requires some patience.
A cherry tree grown from a pit will typically start bearing fruit between 4 and 7 years after germination. Some trees may take up to 10 years depending on variety, growing conditions, and climate.
Here’s how to encourage earlier and heavier fruiting:
- Prune strategically — remove crossing branches and keep the canopy open for airflow and light penetration each late winter
- Feed correctly — switch to a low-nitrogen, higher-phosphorus fertilizer as the tree matures to encourage flower and fruit production rather than leafy growth
- Manage pests early — birds, aphids, and cherry fruit flies are the three biggest threats to a developing crop; netting and organic sprays help
If you’re growing a sweet cherry variety, remember that you’ll need to plant a second compatible cherry variety nearby for cross-pollination. Sour cherries are largely self-fertile and much easier to grow alone.
FAQs: Growing Cherry Trees from Pits
Q1. How long does cherry pit stratification really take? Between 10 and 12 weeks in a refrigerator at 34–41°F (1–5°C) is the standard window. Shorter than 10 weeks and germination rates drop significantly.
Q2. Can I plant a cherry pit in the ground outdoors in autumn and let nature stratify it? Yes — this is called “natural stratification” and it works well in areas with genuine cold winters. Plant the cleaned, dry pit about 1 inch deep in autumn and mark the spot. Be prepared for birds, squirrels, or other animals to dig it up before spring.
Q3. Do I need more than one cherry tree for fruit production? Sour cherry varieties are generally self-fertile and don’t require a second tree. Sweet cherry varieties almost always need a compatible pollinator tree planted nearby within 100 feet.
Q4. Why did my cherry pit germinate but then the seedling died? The most common reasons are overwatering (root rot), insufficient light, or transplant shock from moving indoors to outdoors too quickly without hardening off.
Q5. Can I grow a cherry tree from a pit in a container permanently? Yes, but it requires significant management. Use a large container (15–25 gallons at minimum for maturity), fertilize regularly since nutrients deplete faster in pots, and be prepared to repot as the tree grows. Dwarf varieties perform much better in containers than standard ones.
Q6. Are the leaves and pits of cherry trees toxic? Cherry tree leaves, bark, and pits contain amygdalin, which can release cyanide when metabolized in large quantities. Fruit flesh is completely safe to eat, but avoid allowing pets or children to chew on fallen pits, leaves, or twigs.
Conclusion: Start with One Pit, End Up with a Tree
Learning how to plant a cherry pit to grow a fruit-bearing tree at home is one of the most rewarding slow-burn gardening projects you can take on.
It costs almost nothing. It starts with something you’d discard after lunch. And it ends — years down the line — with a living, flowering, fruiting tree that you grew entirely from scratch.
The key steps are simple: clean the pit properly, stratify it in the fridge for 10 to 12 weeks, plant it one inch deep in well-draining soil, give it light and consistent moisture, and then let time do its work.
Most people who fail either skip stratification or give up too early. Don’t do either.
Save a few pits the next time you eat cherries. Label a bag. Set a refrigerator reminder. Three months from now, you’ll have sprouting pits. A few years after that — fruit.
That’s a pretty good return on a seed you almost threw away.
One Comment