DIY Slow Release Organic Fertilizer for Potted Plants (That Works)
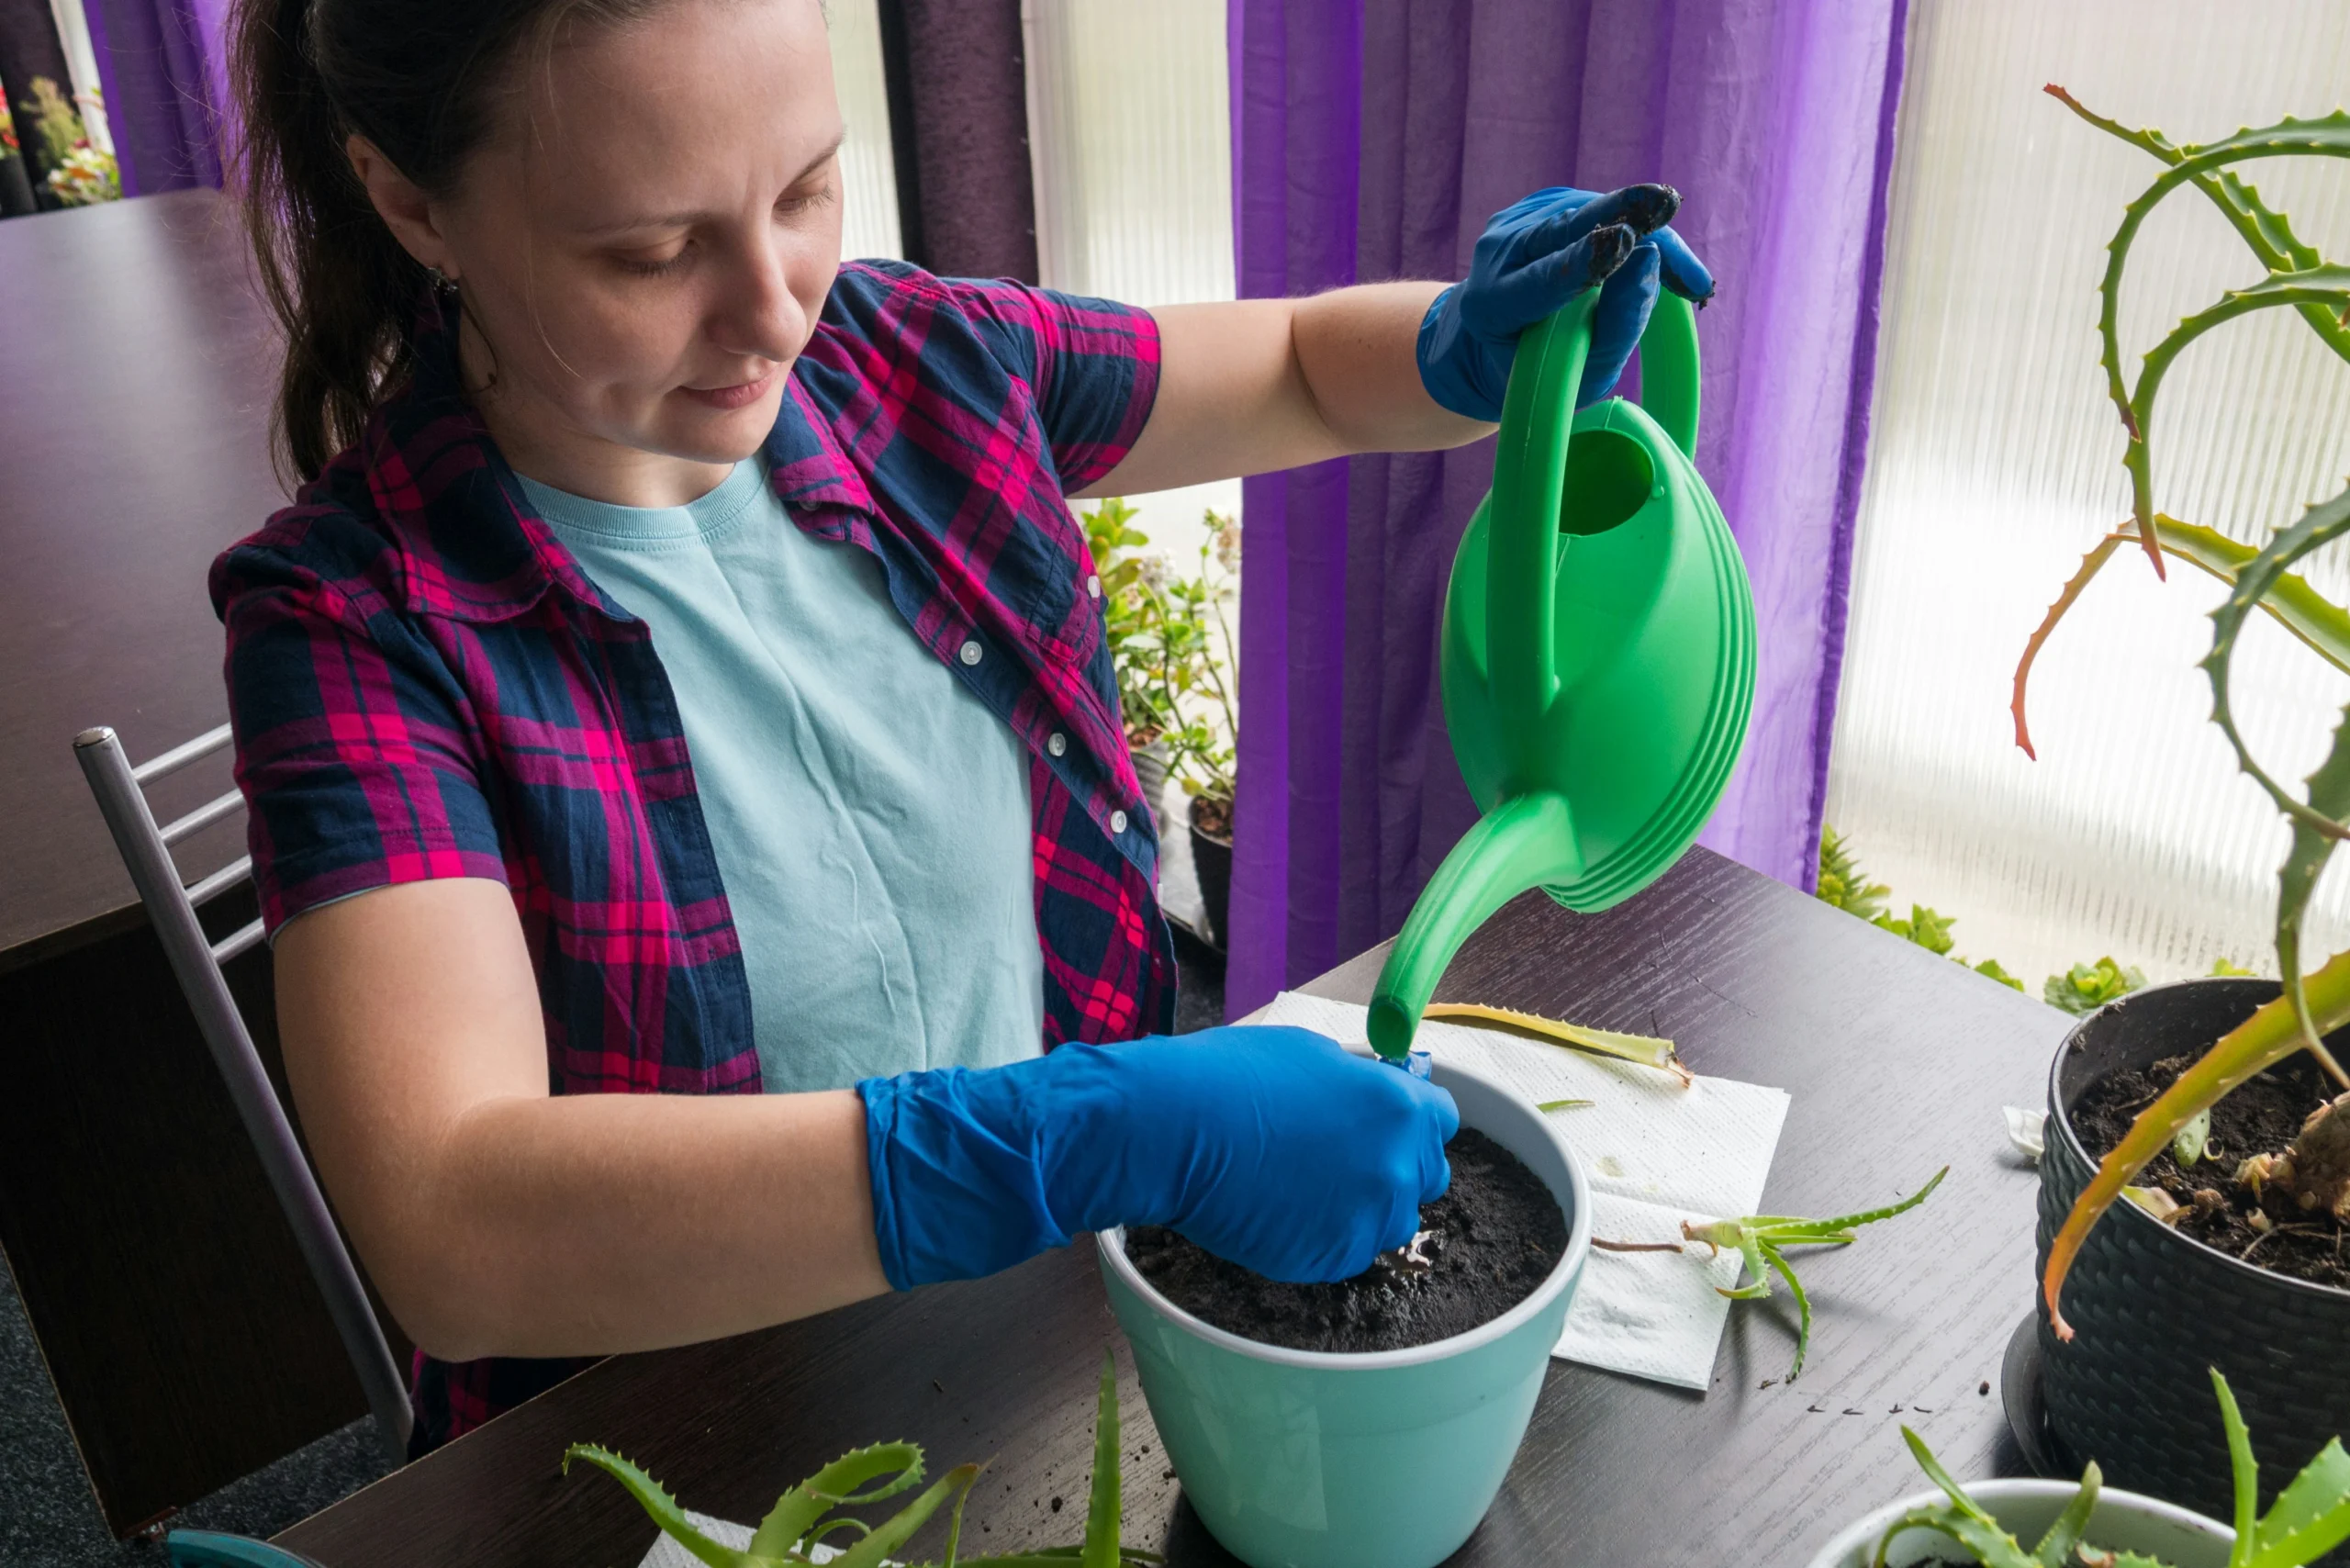
My pothos sat in the same pot for two years without a single feeding, and I couldn’t figure out why its leaves kept coming in smaller and smaller. Turns out potted plants run out of nutrients way faster than plants in the ground, because there’s no soil ecosystem replenishing what gets used up. That’s when I started mixing my own diy slow release organic fertilizer for potted plants, and honestly, it changed how my whole plant collection looks. No more yellowing leaves, no more guessing games with liquid feeds every two weeks.
Why Potted Plants Need Slow Release Fertilizer (And Not Just Liquid Feed)
Container soil is a closed system. Every time you water, nutrients drain right out the bottom of the pot along with the excess water. That’s called leaching, and it happens fast in small containers, way faster than most people expect.
Liquid fertilizers give plants a quick meal, but it’s gone within days. A slow release blend sits in the soil and breaks down gradually, feeding roots over weeks or even months. I like to think of it as the difference between a granola bar and a slow-cooked stew — one gives you a burst, the other keeps you going.
For potted herbs, houseplants, and patio containers, slow release organic options are gentler too. They won’t burn tender roots the way a concentrated synthetic pellet can if you overdo the dose. Because the nutrients release gradually as soil microbes and moisture break the material down, there’s a natural buffer built in. You’d have to work pretty hard to overfeed a plant this way, which makes it more forgiving if you’re still learning how your specific plants respond to feeding.
There’s also a soil health angle worth mentioning. Organic matter like coffee grounds and worm castings doesn’t just feed the plant directly — it feeds the microbes living in the soil, and those microbes are what actually convert raw nutrients into a form roots can absorb. Synthetic fertilizers skip that step entirely, which is part of why potting mix fed only with synthetics tends to get compacted and lifeless after a year or two, even if the plant on top still looks fine for a while.
What You’ll Need to Make DIY Organic Fertilizer at Home
You don’t need a garden shed full of supplies. Most of this is either in your kitchen already or costs a few dollars at a garden center.
- Used coffee grounds (dried, not wet)
- Crushed eggshells (rinsed and fully dried)
- Bone meal or fish bone meal (adds phosphorus for roots and blooms)
- Kelp meal or seaweed powder (trace minerals, plus it helps with stress tolerance)
- Worm castings, if you have access to a worm bin or can buy a small bag
- Wood ash, used sparingly (raises pH, so skip this for acid-loving plants)
- Epsom salt, a small amount for magnesium
- A dry, airtight container for storage
I’ve made batches with as few as three ingredients and it still worked fine. The key is balancing nitrogen, phosphorus, and potassium, plus a few trace minerals, not using every single item on this list every time.
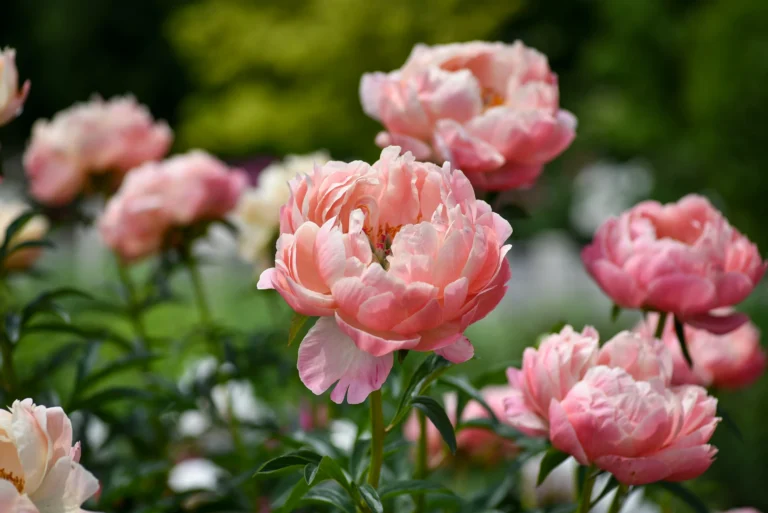
Proper pruning keeps a peony productive for generations. For more seasonal plant care and layout advice, check out the Stewartmanor Gardening Hub.
If you’re just starting out, don’t feel like you need to source everything at once. My first batch was only coffee grounds and eggshells because that’s what I had on hand, and it still made a noticeable difference within a month. You can build up the mix as you find or buy more ingredients. Bone meal and kelp meal are the two I’d recommend picking up first if you want to expand, since they cover phosphorus and trace minerals that kitchen scraps alone don’t really supply.
One thing I’d flag: not all coffee grounds are equal. Grounds from a strong dark roast tend to be more acidic than a lighter roast, though the difference is small once diluted into soil. If you’re feeding a lot of acid-sensitive plants, it’s worth keeping an eye on soil pH every few months with a basic test kit rather than guessing.
Step-by-Step: How to Make Your Own Slow Release Organic Fertilizer
- Dry your kitchen scraps first. Spread coffee grounds and crushed eggshells on a baking sheet and let them air dry for two to three days, or pop them in an oven at low heat (around 150°F) for 20 minutes. Wet ingredients mold in storage.
- Grind the eggshells fine. A coffee grinder or blender works well. Fine powder breaks down faster and releases calcium sooner; chunky pieces take months.
- Mix your base ratio. A reliable starting blend is 2 parts dried coffee grounds, 1 part crushed eggshell, 1 part bone meal, and a half part kelp meal.
- Add a pinch of Epsom salt. About 1 tablespoon per quart of the mixed blend is plenty. More than that can actually stress plants rather than help them.
- Store it dry. Keep the finished mix in a sealed jar or container away from moisture. It stays potent for around six months.
- Apply at the right rate. For a 6-inch pot, work about 1 tablespoon of the mix into the top inch of soil. For larger containers, scale up to 2–3 tablespoons.
- Water it in gently. This kicks off the slow breakdown process and helps microbes in the soil start working on the material.
I learned step 6 the hard way. My first attempt, I dumped in nearly a quarter cup for a small basil pot thinking more was better. The soil got a white crust and the basil sulked for two weeks before it recovered.
Sweet cherries grow very large—sometimes 30 to 40 feet tall without regular pruning. Discover how to prune fruit trees in summer to easily control their height and improve canopy sunlight.
Comparison: DIY Ingredients and What They Actually Do
| Ingredient | Main Nutrient | Release Speed | Best For |
|---|---|---|---|
| Coffee grounds | Nitrogen | Medium (4–6 weeks) | Leafy houseplants, ferns |
| Crushed eggshells | Calcium | Slow (2–4 months) | Tomatoes, peppers, succulents |
| Bone meal | Phosphorus | Slow (2–3 months) | Flowering plants, root veggies |
| Kelp meal | Potassium, trace minerals | Slow (1–3 months) | Stressed or newly repotted plants |
| Worm castings | Balanced NPK | Fast to medium | Almost any potted plant |
| Epsom salt | Magnesium | Fast (days) | Yellowing leaves from mag deficiency |
How Often Should You Feed Potted Plants With This Mix?
For most houseplants, working a small amount of your homemade organic fertilizer into the topsoil every 6 to 8 weeks during spring and summer is enough. Growth slows in fall and winter for most species, so I usually stop feeding by late October and pick back up in March.
Outdoor container plants like tomatoes or peppers are hungrier. They can handle feeding every 4 weeks once they start flowering, since they’re putting so much energy into fruit production.
Common Mistakes to Avoid
- Skipping the drying step. Wet coffee grounds or eggshells can grow mold right in your storage jar.
- Using too much bone meal. It smells strong and can attract curious dogs or cats digging in pots — keep pots out of reach if you have pets that like to snack on soil.
- Applying fertilizer to bone-dry soil. Water lightly first, then apply the mix, then water again. Dry soil doesn’t absorb nutrients evenly.
- Feeding a dormant or stressed plant. If a plant just got repotted or is fighting pests, hold off for two to three weeks before adding fertilizer.
- Forgetting citrus and acid lovers. Wood ash and lots of eggshell can push soil pH up, which blueberries, azaleas, and some ferns really don’t like.
Quick-Reference Checklist Before You Start
- Ingredients are fully dried, no moisture left
- Eggshells are ground fine, not chunky
- Mix stored in an airtight, labeled container
- Applied at roughly 1 tbsp per 6-inch pot
- Soil watered before and after application
- Feeding schedule matches the plant’s growing season
- Pets can’t access the pot if bone meal is used
Signs Your Homemade Fertilizer Is Actually Working
Give it two to three weeks before you judge results. You’re looking for new leaf growth that’s a normal size and color, sturdier stems, and less leaf drop. If a plant was yellowing from nitrogen deficiency, you’ll usually notice the newest leaves coming in noticeably greener first.
If you see no change after six weeks, or things get worse, it might be a watering or light issue rather than a nutrient one. That’s when it’s worth checking with a local nursery or an extension office rather than just adding more fertilizer, since overfeeding is harder to fix than underfeeding.
Storing and Extending the Life of Your Fertilizer Mix
A dry, sealed mason jar or plastic container with a tight lid is really all you need. Keep it somewhere cool and out of direct sunlight — a kitchen cabinet or pantry shelf works fine. Heat and humidity are what shorten shelf life, not time itself.
I label mine with the date it was mixed, because it’s easy to forget how old a batch is once you’ve got a few jars going. If you notice any musty smell or clumping when you open the container, that usually means moisture snuck in, and it’s better to toss that batch than risk mold spreading to your plants.
You can also make smaller batches more often rather than one giant supply. I switched to mixing about a cup at a time every couple of months instead of a huge batch upfront, and it’s easier to keep fresh and use before it sits around too long.
Adjusting the Recipe for Different Types of Potted Plants
Not every potted plant wants the same feeding approach, and this is where a lot of people get tripped up using one blend for everything.
Succulents and cacti don’t need much nitrogen at all, since it can push soft, leggy growth that’s prone to rot. I lean heavier on crushed eggshell and skip the coffee grounds almost entirely for these.
Flowering plants, like potted geraniums or petunias, benefit from extra bone meal since phosphorus supports bloom production. I’ll bump the bone meal ratio up slightly during the weeks leading into their flowering season.
Leafy houseplants, think pothos, monstera, or philodendron, respond really well to the nitrogen in coffee grounds. These are the plants where I see the fastest, most obvious greening after feeding.
Edible herbs and vegetables in containers are hungrier overall and benefit from the full mix, including kelp meal for trace minerals that support flavor and resilience against pests.
FAQ: DIY Organic Fertilizer for Potted Plants
A Little Disclaimer
This is based on personal trial and error plus general gardening knowledge, not a substitute for professional soil testing. If you’re growing edible plants for a household with health concerns, or dealing with a plant that keeps declining despite feeding, it may help to consult a local agricultural extension office or a certified horticulturist for tailored advice.
Final Thoughts
Making your own fertilizer felt fussy the first time I tried it, honestly, like one more chore added to plant care. But once I had a jar mixed and ready in the cupboard, feeding my plants became as easy as sprinkling a spoonful in every so often. There’s something satisfying about turning your morning coffee grounds into something your ferns actually thrive on. Start small, watch how your plants respond, and adjust the mix as you go. Your potted garden will tell you what it needs if you pay attention.
One Comment