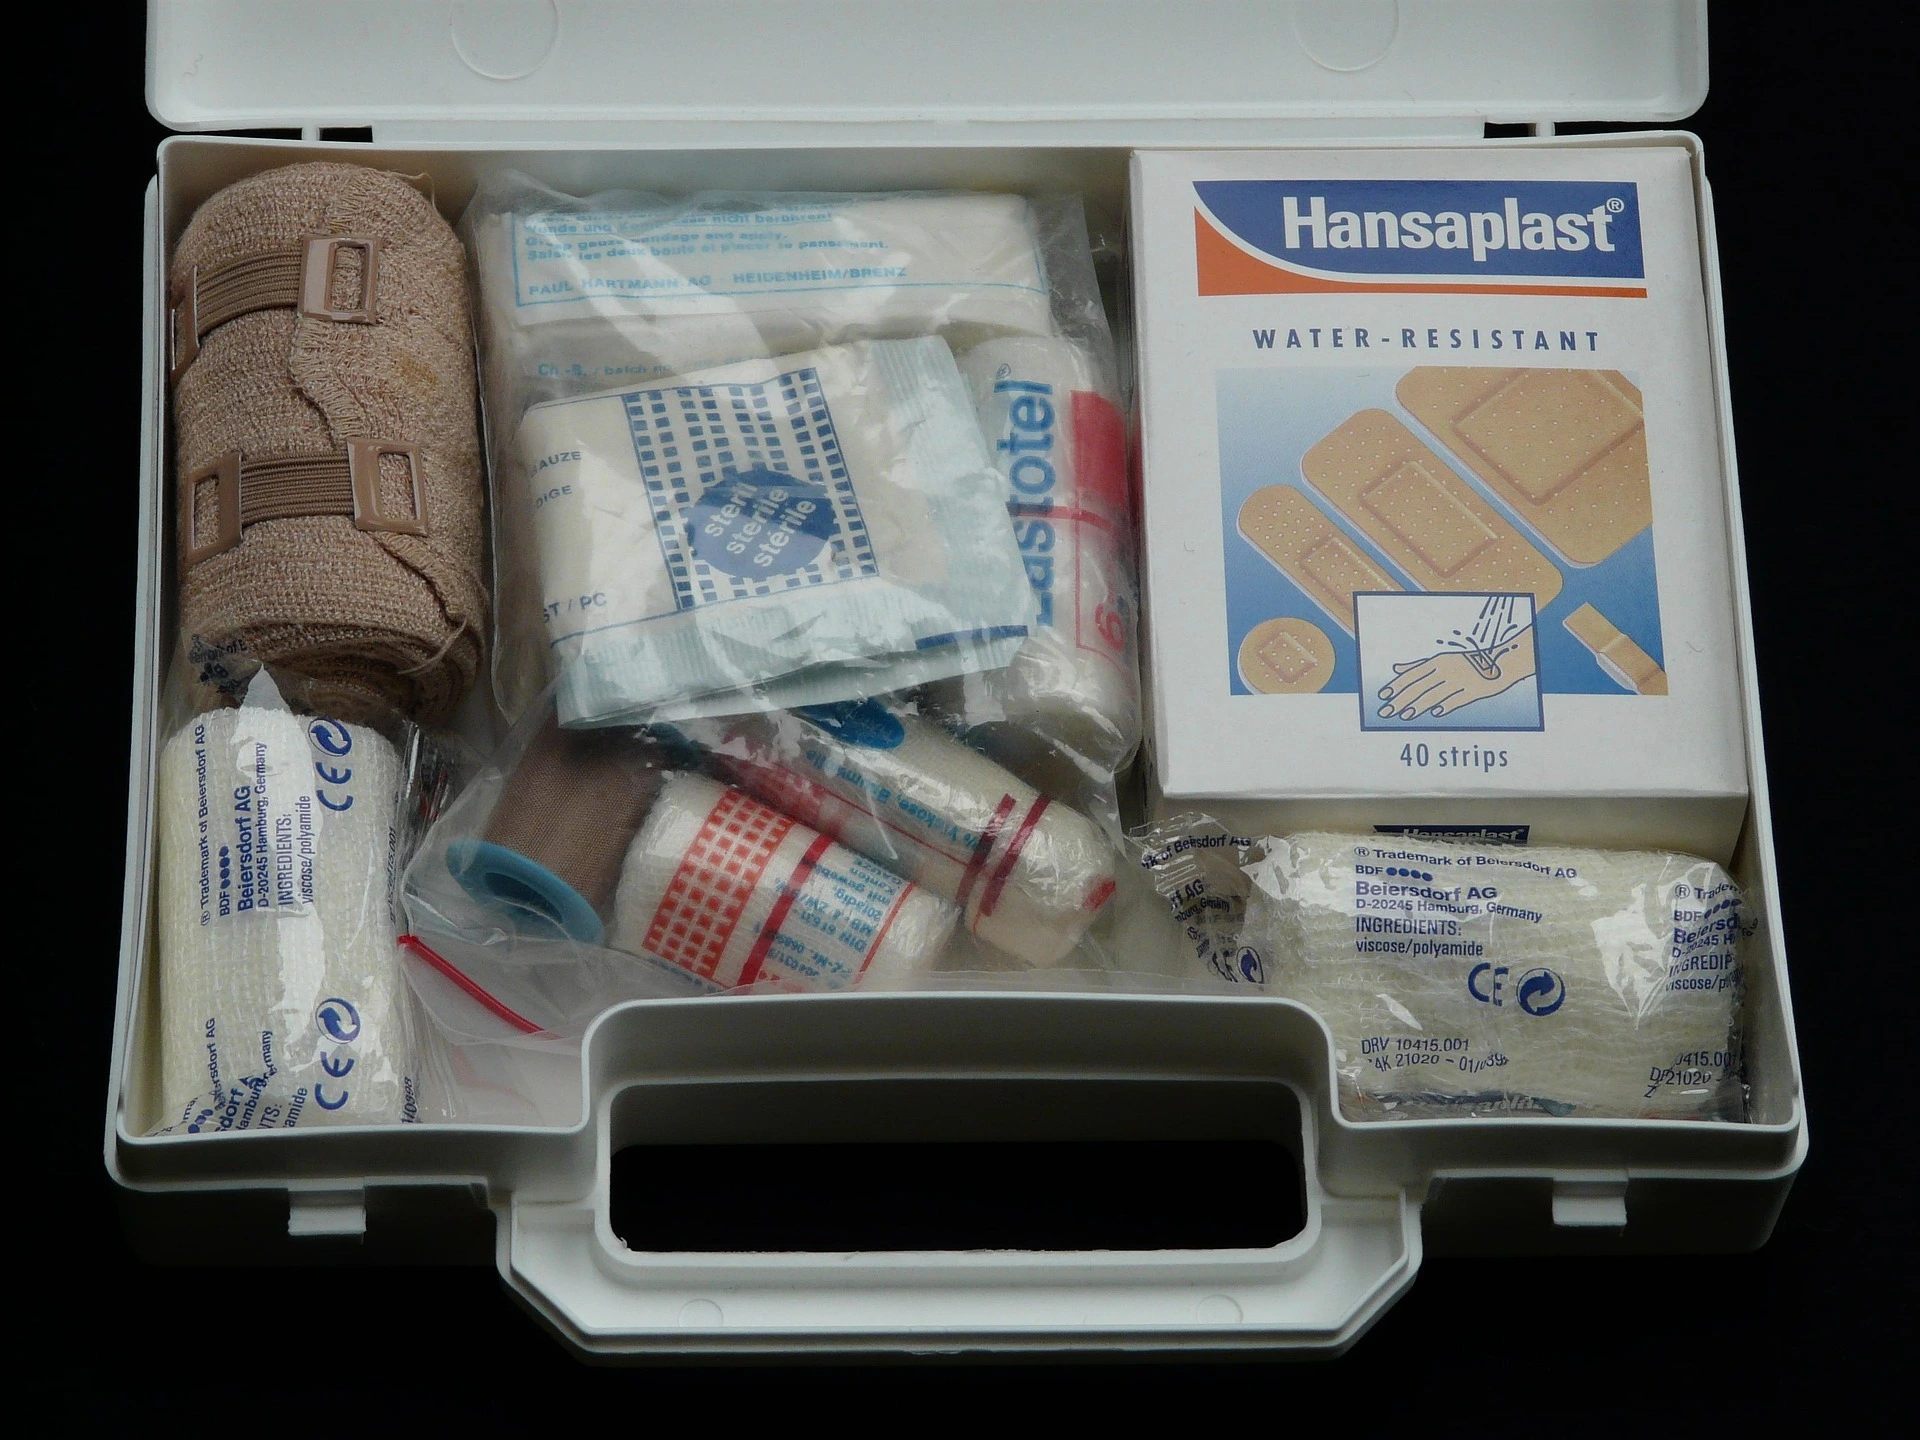
Essential Pet First Aid Kit Checklist: Be Prepared for Any Sudden Animal Emergency
My dog once sliced his paw pad open on a broken bottle at the park, and I stood there for a full minute just… panicking. No gauze, no idea what to do, blood on the grass. We made it to the emergency vet fine, but that ten-minute drive felt like an hour.
That’s the night I put together my first real essential pet first aid kit checklist for emergencies, and I haven’t gone without one since. It’s not about becoming a vet yourself. It’s about buying yourself calm, useful minutes before help arrives — and sometimes, that’s the difference between a scare and a real crisis.
Why Every Pet Owner Needs This, Not Just “Someday”
I used to think first aid kits were for people who camp a lot or live somewhere remote. Turns out, most pet emergencies happen at home — a cut paw, a bee sting, a swallowed sock, a sudden limp after a walk.
You don’t need to predict what will happen. You just need to be ready for the fact that something eventually will. Most dogs and cats will have at least one minor injury or scare in their lifetime that benefits from quick, calm first aid.
The goal isn’t to replace your vet. It’s to stabilize your pet, reduce pain or risk, and buy time on the way to getting real care.
I’ve talked to a few longtime dog owners who said the same thing: the accidents are never the ones you’d expect. It’s rarely the dramatic stuff you picture — it’s a torn nail on a Sunday walk, a wasp sting during a backyard barbecue, or a cut paw pad from broken glass nobody saw. Small, ordinary moments where having the right supplies within arm’s reach makes a real difference.
How to Clean Cat Pee Smell Out of Carpet Completely – A step-by-step guide to removing stubborn pet urine odors permanently using enzymatic cleaners and effective home remedies.
How a Pet First Aid Kit Is Different From a Human One
This tripped me up at first. I figured I’d just raid my own medicine cabinet, but pets have different needs and different dangers.
A few key differences:
- Dosing is completely different. Human medications, even common ones like ibuprofen, can be toxic to dogs and cats in the doses we’d normally take.
- Muzzling matters. Even the sweetest pet may bite when it’s in pain or scared, so a soft muzzle or strip of fabric is something human kits never include.
- Temperature checks work differently. Normal temperature for dogs and cats runs higher than ours, typically around 100.5°F to 102.5°F, so knowing that range matters if you’re checking for fever.
- Sizes need to flex. Bandage and wrap sizes that work for a Great Dane are useless on a cat, so many kits need a couple of size options rather than one-size-fits-all.
The Essential Pet First Aid Kit Checklist for Emergencies
This is the actual list I keep in my own kit, refined after a few “wish I had that” moments over the years.
| Item | Purpose | Notes |
|---|---|---|
| Digital thermometer | Checking for fever or hypothermia | Rectal thermometers give the most accurate reading |
| Gauze pads (4×4 in) and rolled gauze | Covering wounds, controlling bleeding | Keep at least 6–8 pads on hand |
| Self-adhesive vet wrap | Securing gauze without tape sticking to fur | Comes in multiple widths for different pet sizes |
| Blunt-tip scissors | Cutting gauze or trimming fur near a wound | Rounded tips prevent accidental nicks |
| Tweezers | Removing splinters, ticks, or debris | Fine-tipped ones work best for ticks |
| Saline solution | Flushing wounds or eyes | Unscented, sterile solution only |
| Pet-safe antiseptic (like diluted chlorhexidine) | Cleaning wounds before bandaging | Avoid alcohol-based products directly on wounds |
| Styptic powder | Stopping bleeding from a torn nail | A cornstarch pinch works in a pinch if you’re out |
| Disposable gloves | Keeping the wound and your hands clean | Non-latex if anyone in the house has allergies |
| Soft muzzle or strip of cloth | Preventing bites from a scared or hurt pet | Never use on a pet who is vomiting or struggling to breathe |
| Cold pack | Reducing swelling from sprains or stings | Instant-activate packs don’t need a freezer |
| Old towel or small blanket | Transporting an injured pet, keeping them warm | Also useful for muzzling in a pinch |
| Oral syringe (no needle) | Giving liquid medication if the vet instructs | Useful for hydration support too |
| Emergency contact list | Vet, emergency clinic, poison control | Laminate it or keep it in a sealed sleeve |
| Copy of vaccination and medical records | Speeds up treatment at an unfamiliar clinic | Especially useful when traveling |
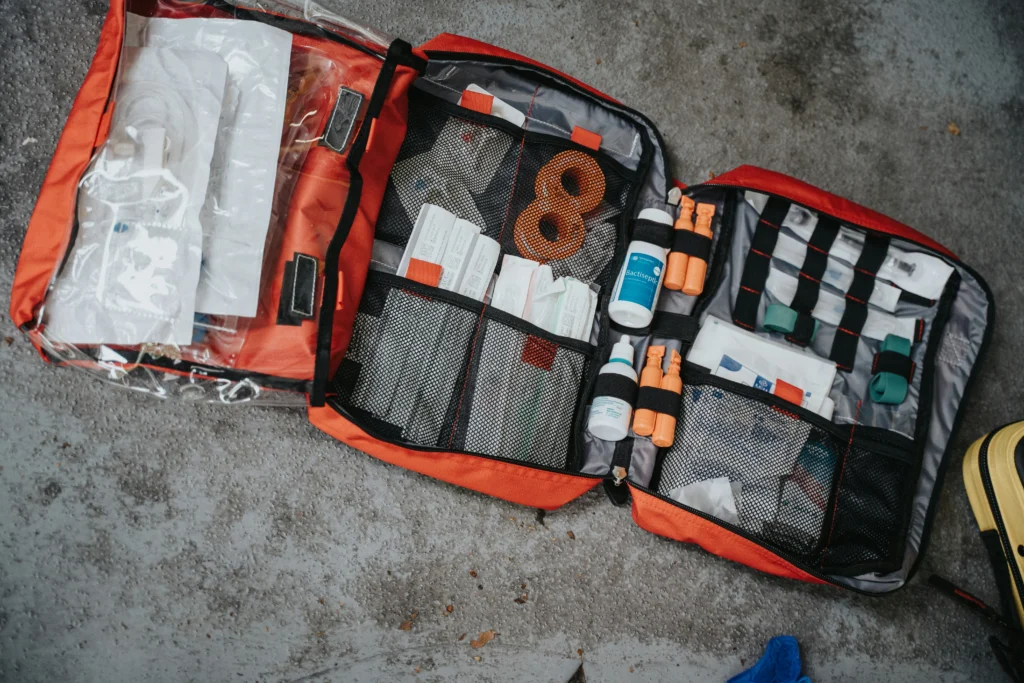
How to Build Your Kit, Step-by-Step
If you’re starting from scratch, here’s the order I’d tackle it in so you’re not overwhelmed buying everything at once.
- Start with a sturdy container. A clear plastic tackle box or a small tote works better than a bag — you want to see everything at a glance during a stressful moment.
- Add the wound care basics first: gauze, vet wrap, saline, and antiseptic. These get used most often, even for minor scrapes.
- Add tools next: tweezers, blunt scissors, thermometer, gloves.
- Add the “just in case” items: muzzle, cold pack, styptic powder, towel.
- Print or write out your emergency contacts — your regular vet, the nearest 24-hour emergency clinic, and a pet poison control number.
- Tuck in a copy of your pet’s records, especially rabies vaccination proof, since some clinics ask for it before treating.
- Do a walk-through with your kit at home, so you know where everything is before you’re panicking in the moment.
How to Train a Puppy Not to Bite – A complete step-by-step roadmap to stopping puppy nipping and teething habits using positive redirection and bite inhibition techniques.
Medications: What to Ask Your Vet About First
I get asked a lot whether to keep something like Benadryl or hydrogen peroxide in the kit. My honest answer is: only with your vet’s specific guidance on dosing for your pet’s weight and breed.
Some vets will tell you to keep a small bottle of 3% hydrogen peroxide on hand in case they instruct you to induce vomiting after your pet eats something toxic — but this should only ever be done if a vet or poison control tells you to, and never as a first instinct. Given incorrectly, it can cause more harm than the original problem.
The same goes for antihistamines. Dosing depends heavily on your pet’s weight, and giving too much or the wrong formulation (some contain additional ingredients that are unsafe for pets) can cause serious issues. Ask your vet what’s safe for your specific pet, write the dose on a label, and keep it in the kit only after that conversation.
This isn’t medical advice for your individual pet — it’s a starting point for a conversation with your vet, who knows your animal’s health history.
Building a Smaller Travel Version
Alongside my main kit at home, I keep a scaled-down version in the car. It’s not a full duplicate — just the essentials that matter most on the road: gauze, vet wrap, saline, antiseptic wipes, gloves, and the emergency contact list.
This travel kit has come in handy more than once on hikes and road trips, when the nearest vet was a 40-minute drive away. If you travel often with your pet, or hike in areas without quick access to a clinic, this smaller version is worth the extra ten minutes it takes to put together.
Where to Store It and How Often to Check It
I keep one kit in a hall closet at home and a smaller travel version in the car for road trips or vet visits. Both are checked every six months, usually when I change my smoke detector batteries — an easy way to remember.
Things to check during that review:
- Expiration dates on any medication or saline solution
- Whether gauze or wrap packaging has been opened or damaged
- Battery life in the thermometer
- Whether your pet has grown or changed size enough to need different wrap widths
- Updated emergency contact numbers, especially if you’ve moved or switched vets
Common Mistakes to Avoid
I’ve made a few of these myself, so hopefully this saves you the same lesson the hard way.
- Storing the kit somewhere hard to reach. A top shelf in the garage does you no good during a fast-moving emergency.
- Letting supplies expire without checking. Saline and antiseptic do go bad, and expired products may not work as well when you actually need them.
- Skipping the muzzle. Even calm pets can bite reflexively when they’re in pain, and getting bitten mid-emergency helps no one.
- Assuming one kit works for every pet in the house. A cat and a large dog need different wrap sizes and sometimes different tools entirely.
- Not practicing with the kit beforehand. The first time you open it shouldn’t be during an actual emergency — get familiar with what’s inside ahead of time.
- Forgetting a written copy of emergency numbers. Phones die or get left behind in a rush; a printed backup costs nothing.
When to Skip the Kit and Call the Vet Immediately
A first aid kit is for stabilizing, not treating. Some situations need a vet or emergency clinic right away, no matter how prepared your kit is:
- Difficulty breathing or choking
- A bloated, hard abdomen (especially in large, deep-chested dogs)
- Seizures lasting more than a couple of minutes
- Heavy bleeding that doesn’t slow with direct pressure
- Suspected poisoning or ingestion of something toxic
- Signs of extreme pain, collapse, or unresponsiveness
If you’re ever unsure whether something is an emergency, call your vet or an emergency clinic and describe what’s happening. It’s always better to check than to guess.
FAQ: Pet First Aid Kits
One Box, a Lot of Peace of Mind
Putting together a first aid kit isn’t the most exciting afternoon project, but it’s one of those things you’ll be genuinely grateful for the one time you actually need it. Mine has been used more times than I expected — mostly for small scrapes, once for something more serious.
Build it once, check it twice a year, and keep it somewhere you can grab without thinking. That small bit of preparation won’t replace your vet, but it might just make the scariest ten minutes of your week feel a little more manageable.



One Comment