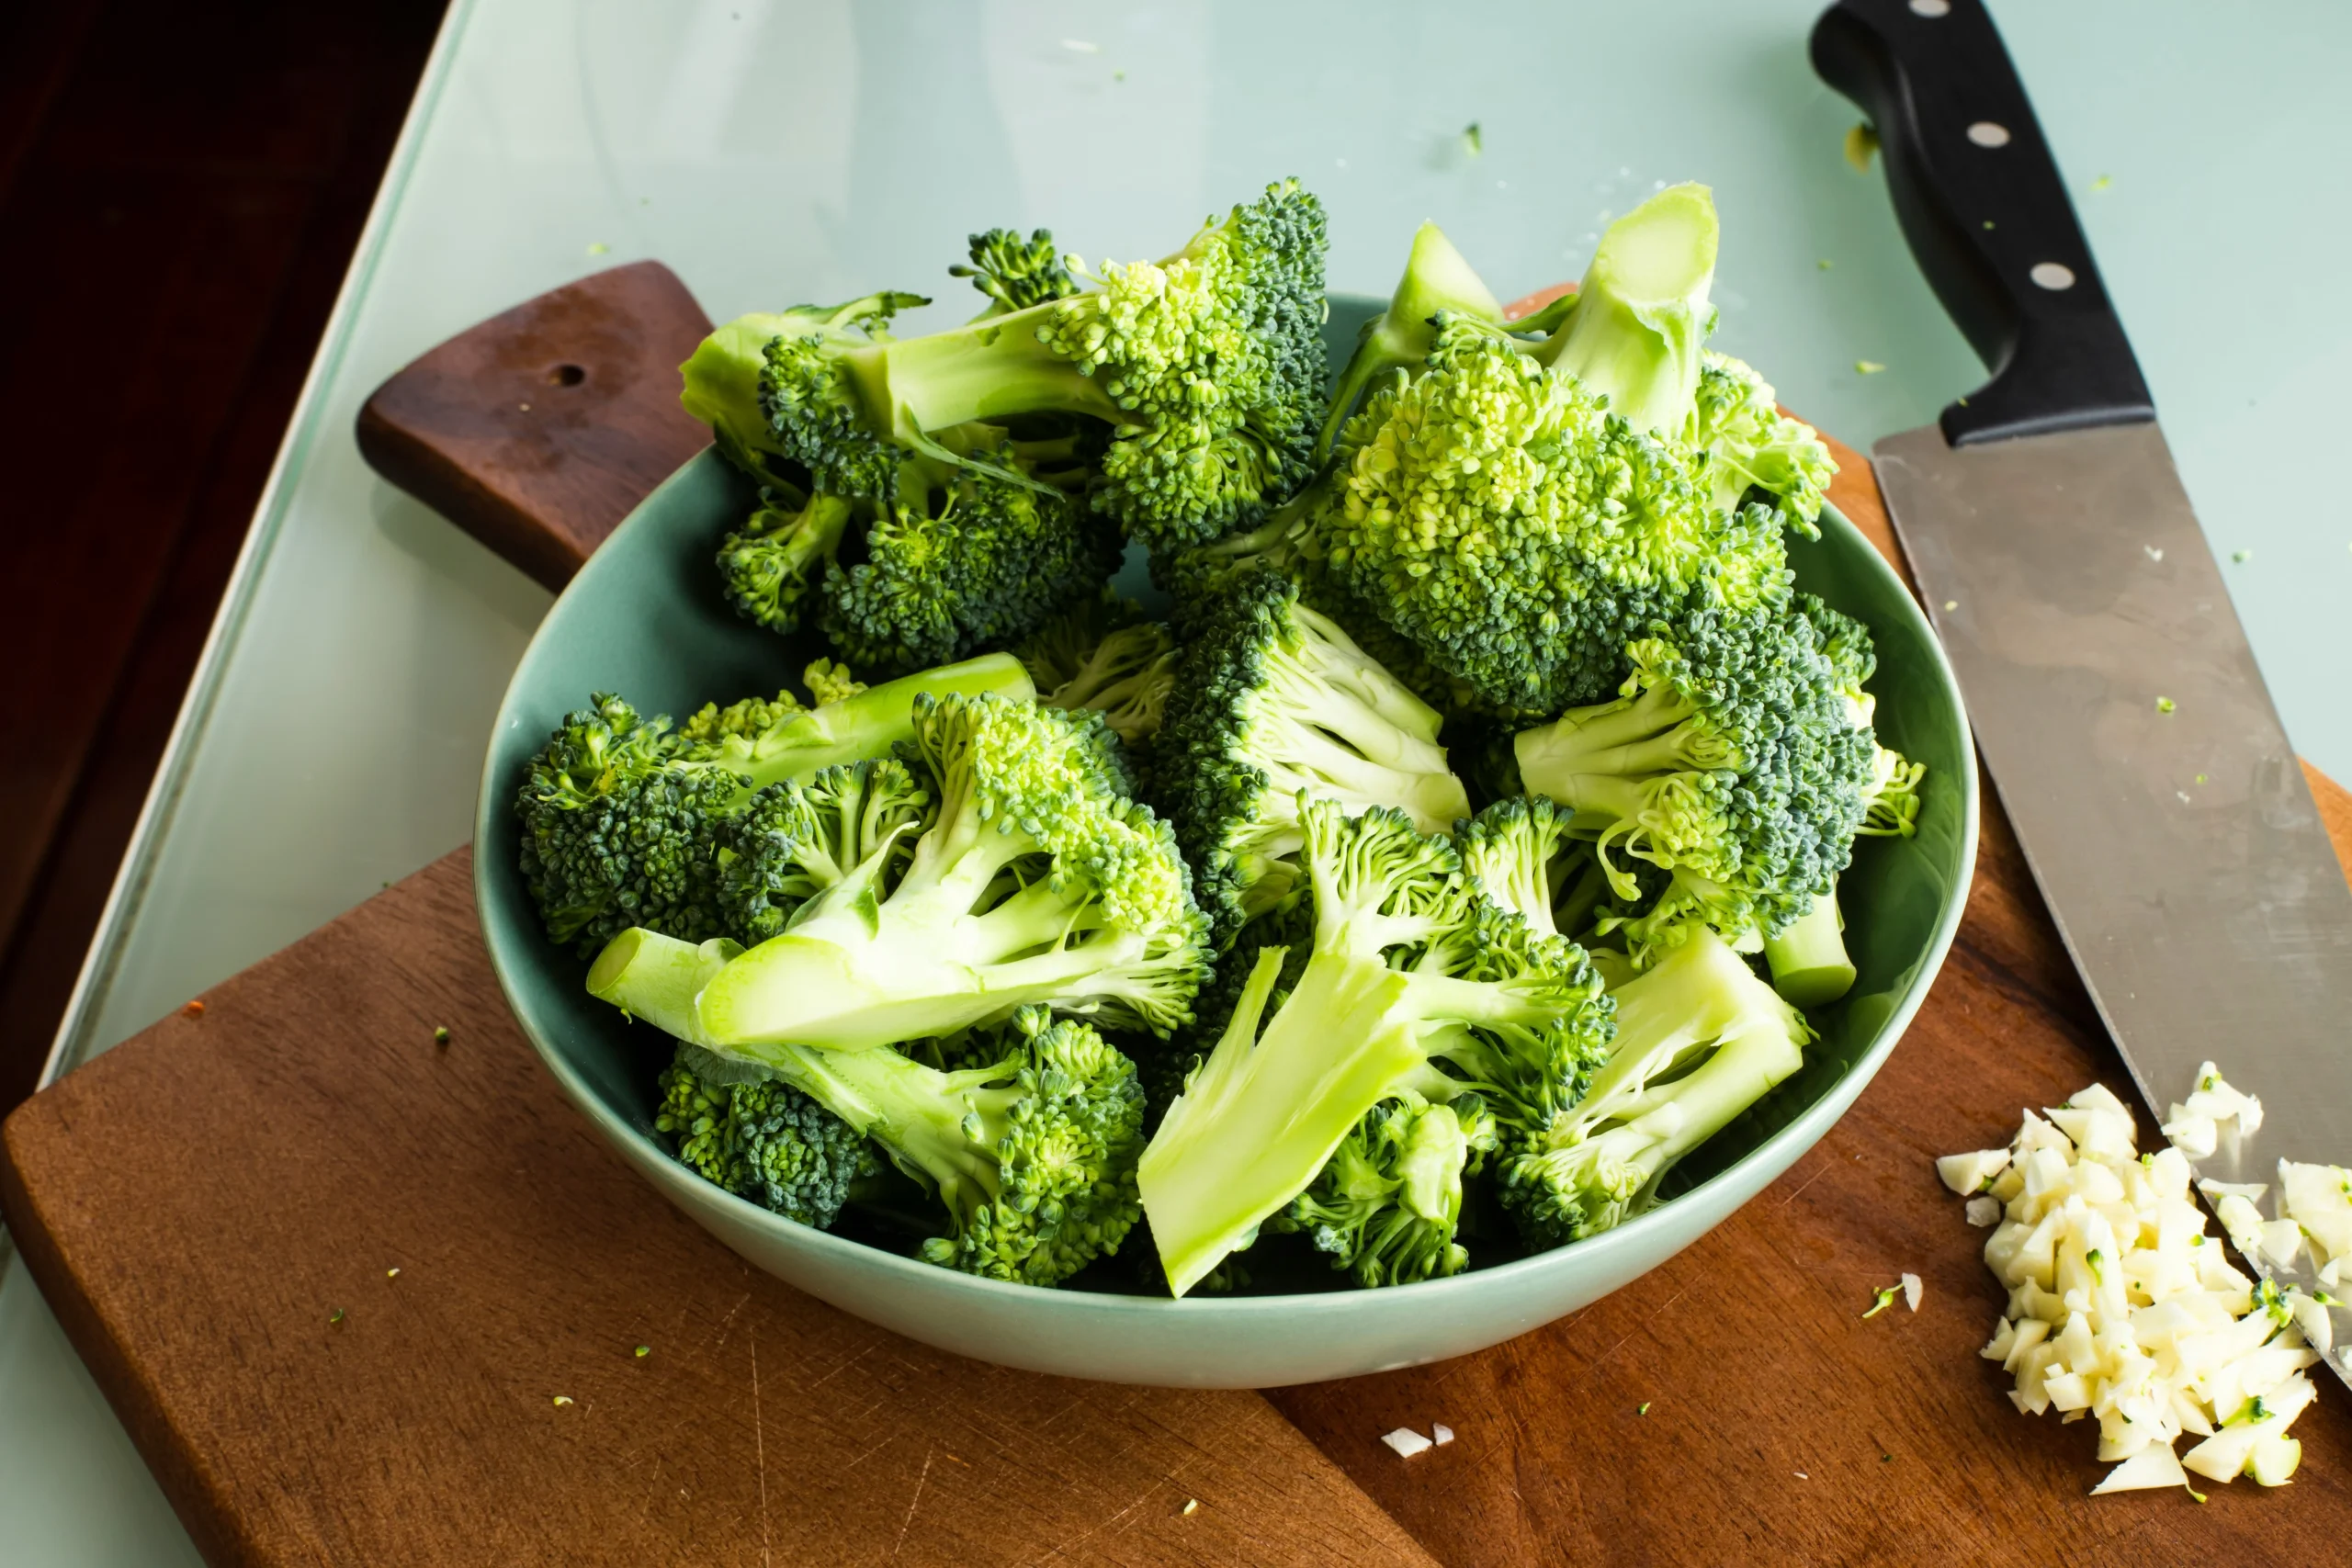
How to Blanch Broccoli in Boiling Water Without Overcooking or Losing Color
I ruined an entire head of broccoli my first time trying to freeze a garden haul. It came out mushy, olive-drab, and honestly kind of sad looking. Turns out I’d skipped the one step that actually matters. If you want to know how to blanch broccoli so it stays crisp and bright green, the good news is it’s a simple process once you understand the timing and the shock of cold water that locks everything in.
Blanching isn’t complicated, but it’s easy to get wrong if you rush it or skip a step. I’ve blanched more broccoli than I can count at this point, for freezing, meal prepping, and just getting a head start on weeknight stir-fries. Here’s everything that’s actually worked for me.
Why Blanching Broccoli Matters in the First Place
Blanching is a quick dip in boiling water followed immediately by an ice bath. That’s it at its core. But that short burst of heat does a few important things: it deactivates the enzymes that cause vegetables to lose color and texture over time, it softens the broccoli just enough to make cooking later faster, and it helps preserve nutrients better than just tossing raw broccoli in the freezer.
Skip this step and freeze raw broccoli instead, and you’ll notice the difference within a month or two — the florets turn dull, the texture gets rubbery, and the flavor can shift toward bitter. I learned this the hard way with a freezer bag of untouched broccoli that sat forgotten for three months.
10 Companion Plants to Grow Next to Potatoes: A practical organic gardening guide detailing ten strategic companion plants—such as marigolds, bush beans, and horseradish—that naturally repel destructive pests like the Colorado potato beetle, maximize soil nutrients, and improve overall crop yields.
What You’ll Need Before You Start
- A large pot, at least 6 quarts, filled about two-thirds with water
- A large bowl filled with ice and cold water (the ice bath)
- A slotted spoon or spider strainer
- A colander for draining
- Salt (optional, but it helps with flavor and slightly speeds blanching)
I always prep my ice bath before the water even starts boiling. Nothing worse than pulling broccoli out of boiling water and fumbling to find ice cubes.
How to Blanch Broccoli So It Stays Crisp and Bright Green: Step-by-Step
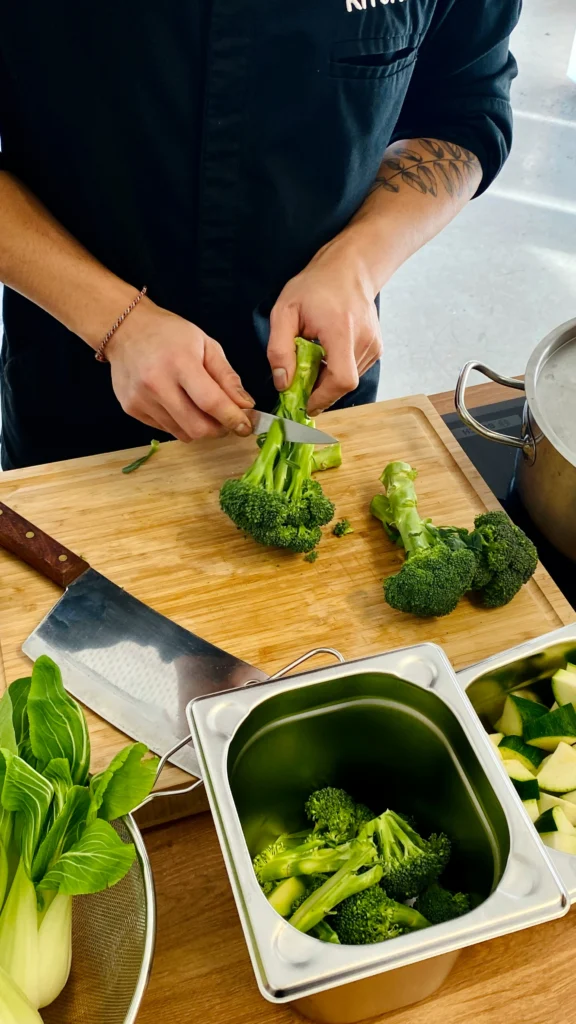
- Cut the broccoli into even florets, roughly 1 to 1.5 inches across. Uniform size matters here — uneven pieces blanch unevenly, and you’ll end up with some mushy bits and some still-raw bits.
- Bring a large pot of water to a rolling boil. I add about 1 tablespoon of salt per gallon of water, which helps season the broccoli slightly and can help retain color.
- Drop the florets into the boiling water and start a timer immediately. For broccoli, 2 to 3 minutes is the sweet spot — 2 minutes for smaller pieces, closer to 3 for larger chunks or stems.
- Pull the broccoli out with a slotted spoon the second the timer goes off. Don’t wait, don’t multitask here — overcooking by even 30 seconds can push it from bright green to that dull, army-green color everyone’s trying to avoid.
- Plunge the broccoli directly into the ice bath. Let it sit for the same amount of time it was in the boiling water, roughly 2 to 3 minutes, to fully stop the cooking process.
- Drain thoroughly in a colander. Shake off excess water, then spread the florets on a clean kitchen towel or paper towels to air dry for a few minutes before freezing or storing.
19 High-Protein Add-Ons to Instantly Boost Any Meal: A comprehensive nutritional guide featuring nineteen versatile ingredients—ranging from seeds and Greek yogurt to lean meats and egg whites—designed to easily upgrade daily meals, stabilize blood sugar, and meet macronutrient goals without requiring an entire diet overhaul.
Blanching Time Reference Table
| Broccoli Size | Boiling Time | Ice Bath Time |
|---|---|---|
| Small florets (under 1 inch) | 2 minutes | 2 minutes |
| Medium florets (1–1.5 inches) | 2.5 minutes | 2.5 minutes |
| Large florets or stems | 3 minutes | 3 minutes |
| Sliced stems (½-inch rounds) | 3 minutes | 3 minutes |
I keep this table taped inside a kitchen cabinet because I still second-guess myself sometimes, even after years of doing this.
What Actually Keeps Broccoli Bright Green
There are a few small details that make a bigger difference than people expect.
Don’t Skip the Salt
A properly salted boiling pot (about 1 tablespoon per gallon) may help broccoli hold its color better than plain water. It’s not a guaranteed fix, but many home cooks, myself included, notice a visible difference.
Use Enough Water
A cramped pot with too little water drops in temperature the second you add broccoli, which means the florets sit in lukewarm water longer than they should, cooking unevenly. I always use at least 4 quarts of water for a single head of broccoli.
Don’t Crowd the Pot
Blanch in batches if you’re working with more than one or two heads of broccoli. Overcrowding the pot has the same effect as using too little water — it drags down the temperature and messes with your timing.
Ice, Not Just Cold Water
A bowl of cold tap water alone isn’t enough. You genuinely need ice in there to shock the broccoli fast enough to stop the cooking process before it goes soft.
How to Store Blanched Broccoli
Once your broccoli is drained and mostly dry, you’ve got a few storage options depending on how soon you plan to use it.
- Freezing: Spread florets in a single layer on a baking sheet and freeze for about 2 hours before transferring to a freezer bag. This prevents the pieces from clumping into one giant block. Blanched, frozen broccoli generally keeps well for 8 to 12 months in a standard home freezer.
- Refrigerating: If you’re using it within 3 to 4 days, an airtight container in the fridge works fine. I usually reach for this option when I’m meal prepping stir-fries or pasta dishes for the week.
- Vacuum sealing: If you have a vacuum sealer, this extends freezer life even further and helps prevent freezer burn, which is honestly the main reason frozen vegetables go bad before their time.
Common Mistakes to Avoid
- Overcooking during the boil. Even 30 extra seconds turns bright green broccoli dull and mushy. Set a timer and don’t rely on guessing.
- Skipping the ice bath. Broccoli keeps cooking from residual heat even after you pull it from the pot, so this step isn’t optional if you want crisp results.
- Not drying the florets before freezing. Wet broccoli forms ice crystals in the freezer, which affects texture once thawed. Pat it dry or let it air dry for a few minutes first.
- Using too small a pot. This drops water temperature too fast and leads to uneven cooking.
- Cutting florets unevenly. Mixing tiny pieces with big chunks means some will overcook while others stay underdone.
The No. 1 Anti-Inflammatory Breakfast: A comprehensive breakfast guide detailing the ultimate morning meal designed to fight chronic inflammation, featuring antioxidant-rich ingredients, healthy fats, and clean proteins that stabilize blood sugar and support daily joint and gut health.
Choosing and Prepping Broccoli Before Blanching
The blanching process only works as well as the broccoli you start with. I’ve noticed a real difference in final color and texture depending on how fresh the heads were to begin with.
Picking Good Broccoli
Look for tight, compact florets in a deep green color, sometimes with a slight blue-green tint. Avoid heads with yellowing patches or florets that have started to flower open, since these are past their prime and won’t blanch to as vibrant a color no matter how careful you are with timing.
Washing and Trimming
Rinse the broccoli under cold running water, then trim away the tough outer layer of the stem with a paring knife or vegetable peeler. I used to skip peeling the stems, but the woody exterior doesn’t blanch evenly and can taste bitter even after cooking.
Cutting for Even Blanching
Split larger heads into individual florets first, then trim any that are noticeably bigger than the rest so everything cooks at roughly the same rate. If you’re blanching the stems too, slice them into half-inch rounds so they finish around the same time as the florets.
What to Do With Blanched Broccoli Once It’s Ready
Blanched broccoli isn’t fully cooked, which is exactly the point. It’s meant to finish cooking later, and knowing how to use it well saves you from ending up with mushy vegetables down the line.
Stir-Fries and Sautés
Since blanched broccoli is already partly cooked, it only needs 2 to 3 minutes in a hot pan with a bit of oil to finish. I add it near the end of a stir-fry so it doesn’t overcook alongside proteins that need longer.
Soups and Casseroles
Toss blanched broccoli into soups during the last 5 minutes of cooking, or mix it straight into a casserole before baking. Because it’s already partly softened, it won’t turn to mush the way raw broccoli sometimes does when baked for 30 minutes or more.
Straight From the Freezer
You don’t need to thaw blanched, frozen broccoli before cooking with it in most cases. I toss it frozen directly into stir-fries, soups, or a sheet pan for roasting, adding a minute or two to the cooking time to account for the extra cold.
Troubleshooting Common Broccoli Blanching Problems
Even with the right timing, things can go a little sideways. Here’s what I’ve run into over the years and how I fixed it.
Broccoli Turns Grayish Instead of Bright Green
This usually points to using unsalted water or letting the broccoli sit too long before the ice bath. Try adding salt to your boiling water next time, and make sure you’re moving the broccoli straight from the pot to the ice within a few seconds.
Florets Feel Slimy After Thawing
Slimy texture after freezing almost always comes down to excess moisture. If you skip drying the broccoli thoroughly before freezing, ice crystals form on the surface and turn watery once thawed. Pat everything dry with a towel and let it air dry for a few extra minutes next time.
Stems Stay Tough While Florets Are Perfect
Stems are denser than florets and need a bit more time in the boiling water. Slice them thinner, around a quarter-inch instead of half-inch, or give them a 30 to 60 second head start in the boiling water before adding the florets.
Blanching vs. Steaming vs. Boiling: What’s the Difference?
I get asked this a lot, so here’s the short version. Boiling broccoli fully cooks it and tends to leach out more nutrients into the water. Steaming cooks broccoli without submerging it, which many people find preserves more nutrients and texture, though it takes a bit longer. Blanching is different from both — it’s a quick partial cook meant specifically to prep vegetables for freezing or a later cooking step, not to serve as a finished dish on its own.
If you’re eating broccoli right away, steaming or roasting might suit you better. If you’re prepping ahead or freezing a garden harvest, blanching is really the only method built for that purpose.
FAQ: Common Questions About Blanching Broccoli
Final Thoughts From My Own Kitchen
Blanching broccoli isn’t glamorous, but it’s one of those small kitchen skills that pays off every single time you open the freezer in January and find bright green florets instead of a sad, dull mess. Once you get the timing down — really, it’s just watching a clock for two or three minutes — you’ll never go back to freezing broccoli raw. If you’re still working out how to blanch broccoli so it stays crisp and bright green, just remember: boil fast, shock faster, and don’t walk away from the pot.

2 Comments